
Please note that the following blog post contains temporary information. In patch 106 (released in mid-August 2017), Oracle added a feature to Essbase Cloud that allows customers to download their Essbase log files directly from the web interface.
While troubleshooting the issue we hit last week (read the first part of that blog post here), we were asked by Oracle support to download a copy of our Essbase Cloud log files and upload them to the SR.
Hmmm…so, how does one do that? No, really. How do you do that in Essbase Cloud? Try finding the detailed steps in the online documentation.
This was not a straight-forward task, and it required the minds of several revered Essbase/Infrastructure folks at interRel, in addition to a webcast with Oracle Support. Therefore, I share this information with you to help you shortcut this same process, if you ever need it. Thank you to Oracle Support for helping us put the pieces together.
What I’m going to walk through is the quick and dirty way to do this – we’re not going to ask a bunch of questions, explain every possible way to do this, or go through a tutorial on SSH, Linux, and Essbase. I’m just going to show you a way to grab those Essbase log files using one tool that has a command line interface, with one set of steps and a little bit of education. Follow these steps exactly to Essbase log happiness (or…temporary happiness until this can be done via just a few mouse clicks through the web interface).
What you’ll need in advance:
- Administration rights to OAC
- A copy of the original .ppk SSH private key file that was created during the setup and configuration of OAC. Hopefully, you or one of your Administrators saved this off somewhere safe (like they were directed to by the wizard). You could create another public/private SSH key pair and grab that private key file (which is the better and more secure route)…but we haven’t figured the correct process for that one yet. Future blog post?
- Save the original .ppk SSH private key file to a short directory address on your local machine. Something easy like the C:\ drive. (I’ll demo C:\ in this tutorial.)
- An installed copy of MobaXterm – this is a free terminal client for Windows that, well, just works. And it’s super easy to use. Oracle Support uses it, too. Download the appropriate version for your machine here. It’s assumed that you’ll need local Administrator rights to your machine to install this program. The installation is simple – next, next, next, etc.
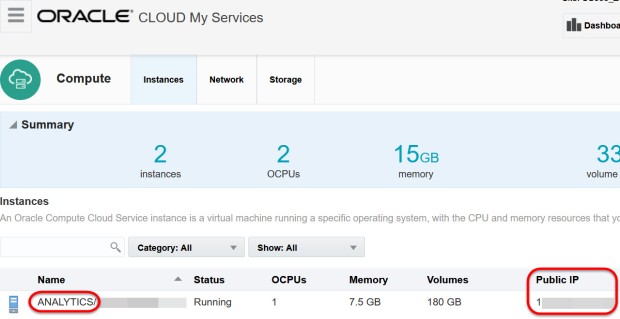
- Your Compute Public IP address. If you don’t know how to find this, go to My Services (here’s a blog post that explains how to log into Cloud via My Services). Then log into your OAC domain, the Compute service console, then grab the public IP address next to the ANALYTICS instance:
Assuming you have everything above all ready to go and OAC is functioning properly, expect this process to take <30 minutes total. It will get much faster over time – I’m assuming you need time to read through this blog post the first time.
Here’s an outline of the overall process:
- Connect to the Essbase Cloud server using SSH and the MobaXterm client
- Transition to the OAC super user via the Linux command sudo
- Change directory via the Linux command cd to the Essbase logs directory
- Tar (zip up) the files using the tar command in Linux
- Move the file to a place where you can access them using the mv command in Linux
- Change permissions on the file using the chmod command in Linux
- Download the file to your local machine
STEP 1: Connect to the Essbase Cloud server using SSH and the MobaXterm client
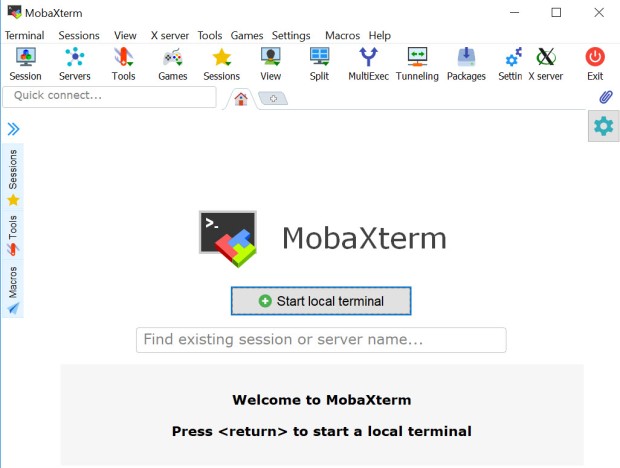
First, open up MobaXterm. Mine looked like this because I haven’t strayed from the default installation. Click the Start local terminal button in the middle.
Now some cool looking screen with funky colors will appear. Awesome! This is actually the terminal that you’ll use to connect to the Essbase Cloud server. Yes, this means that you’ll need to type stuff in because it’s a like a Windows command window. I’ll make it easy for you by giving you the exact text to type in.
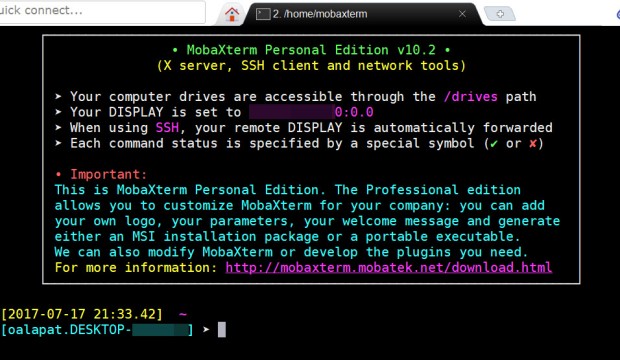
This client is actually pointing to your local computer at this moment. But we need to log into the Essbase Cloud server. Type in:
ssh -i [your private key file location with 2 back slashes] opc@[your public IP address]
Example syntax: ssh -i c:\\privatekey opc@120.25.626.29
See why I wanted you to put your private key in a short directory address?
Also, when we downloaded our private key file, it had no file extension so I didn’t indicate one in the command. Don’t try to change it if it has none – you could mess up the file format.
Next, note that “opc” is actually a user here. And it’s the one you have to use – don’t try to use a user you’ve created because it won’t work.
Finally, after you press enter a new window pane appears to the left. This is important – you’re going to use it like Windows Explorer to download your Essbase log files at the end.
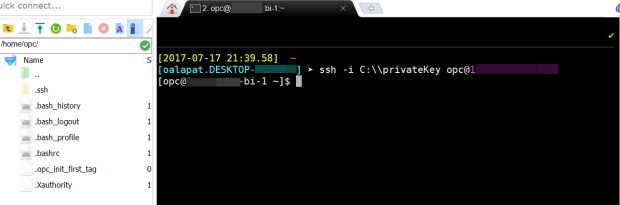
Now you’re connected to the Essbase Cloud server!
STEP 2: Transition to the Appropriate “god” User
So now we have to switch from the opc user to the oracle user to gain more powers. Again, this user is the one you have to use – don’t try to use a user you’ve created because it won’t work. You can switch over to the oracle user via a very simple command in Linux called “sudo” (super user do). Type in:
sudo -su oracle
Here is the result:

Your user has switched from opc to oracle (you can tell by looking at the command prompt – it’s switched from “opc@…”to “oracle@…”).
STEP 3: Change over to the Essbase Logs Directory
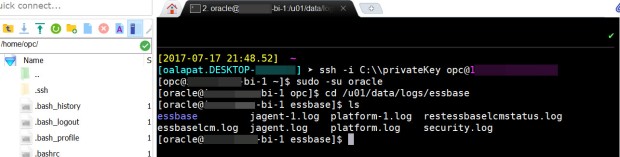
Using a simple “cd” (change directory) Linux command, we’re going to switch over to the Essbase logs directory. This command takes you into the specified folder. Type in:
cd /u01/data/logs/essbase
This is the beginning of how you navigate to specific Essbase logs. If you want the Essbase server log, you’d go up a level (type in cd /u01/data/logs instead of the above).
If you type in another Linux command, “ls” (list), you can see a list of all of the objects (files and folders) in the current folder. Folder names are highlighted in a bluish-purple color.
Here is the result:
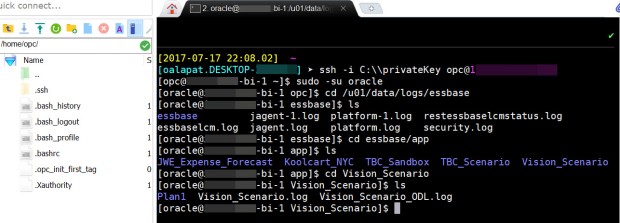
If you want to grab a specific Essbase Cloud application log file, you need to drill further. Use a combination of “cd” and “ls” commands if you want to keep digging.
Type in: cd essbase/app
This will take you to the list of Essbase Cloud applications. Note: if, during this play process, you mess up and go into the wrong folder, type cd .. to get out of it by going back up a level. Or, if you erroneously type something wrong, you can use the backspace button in MobaXterm to back out. The backspace button works in MobaXterm for Linux commands. (I say this because when we used MobaXterm with SSH to run MaxL commands, the backspace key messed up the MaxL commands.)
Type in: cd [application name]
This will take you to a specific application. You can grab the application log from here if you wish. In the example below, I’ve navigated down to the Vision_Scenario application folder.
STEP 4: Zip/Tar the Log File(s)
From here, I could “tar” (basically the same as zipping up) the one application log file by using the following command:
tar cvf essbase_logs.tar Vision_Scenario.log
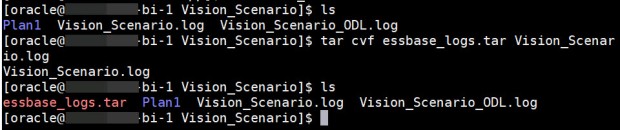
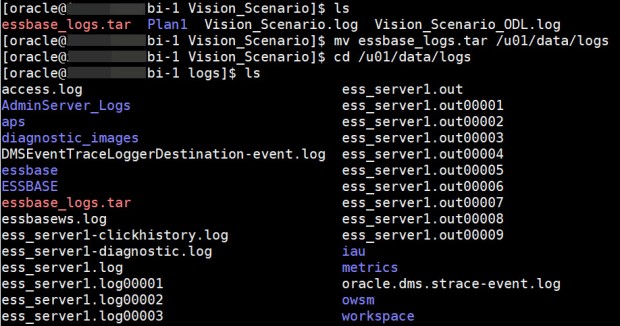
This created a file called essbase_logs.tar from the Vision_Scenario.log file. However, I find that Oracle Support generally wants more than a single log file. So here’s a command that will help you tar multiple files.
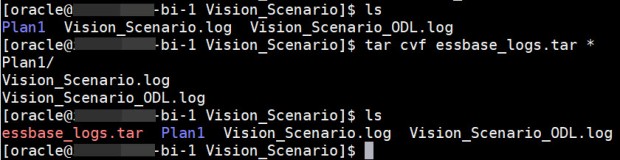
I want to zip up the entire Vision_Scenario application folder. Type in:
tar cvf essbase_logs.tar *
This creates a file called “essbase_logs.tar” which has everything (indicated by the “*” symbol in the command) from this folder in it. MobaXterm even lists out which files and folders are in your .tar file:
STEP 5: Move the Log Files to Where you can Access Them
Now we’re going to use a simple “mv” (move) command in Linux to move the .tar file out of this directory and into one where we can actually download it from. Type in:
mv essbase_logs.tar /u01/data/logs
You can also type in cd /u01/data/logs to navigate to that same folder to verify that the .tar file went there.
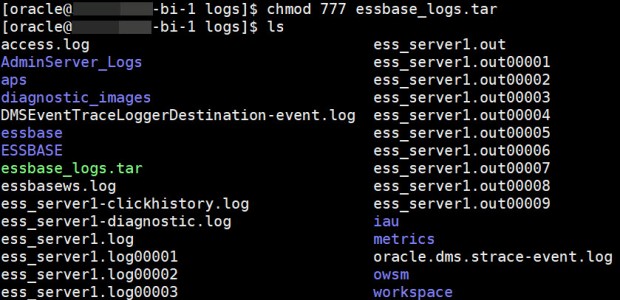
STEP 6: Change Permissions on Log Files
Because this is Linux and security runs high, I now have to edit the permissions (change mode via the “chmod” command) of this newly created .tar file so that I may access and download the file. Type in:
chmod 777 essbase_logs.tar
Notice that the essbase_logs.tar file has switched from a reddish color to a green color to indicate that I have read, write, and execute rights (what the code “777” provides) to it:
STEP 7: Download the Files to Your Local Machine
Now that I have the essbase_logs.tar file on the Essbase Cloud server, how do I get it onto my local drive? This is where the handy window pane to the left comes in. Notice that, when expanded out a bit, this pane looks kind of like Windows Explorer. This is actually a graphical SFTP client that’s intentionally made to be user friendly so you don’t have to use commands to download files.
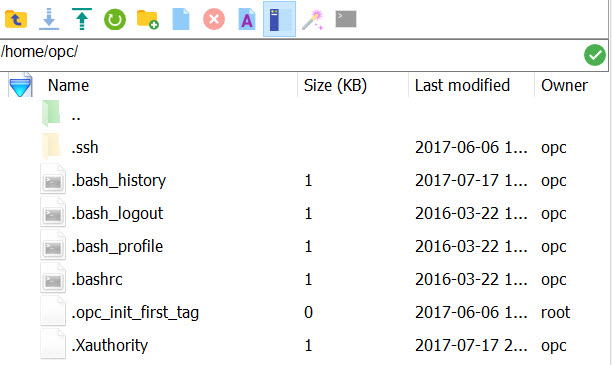
First, navigate to where the essbase_logs.tar file is. Unfortunately, attempts to directly type in the directory did not work. So use the little faded green folder icon or the parent directory icon (the yellow folder on the menu bar above with the up arrow) to go up folders to get to the directory that you need.
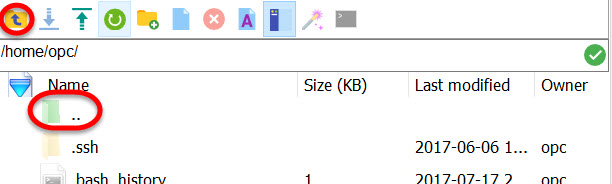
Press one of those 2 buttons twice. You’ll see a bunch of folders now. Scroll down the list until you reach /u01:
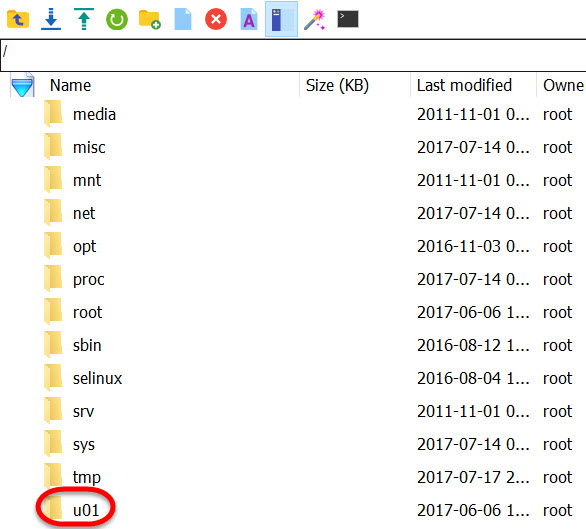
Then double-click down the folders until you reach the location /u01/data/logs/. Here you’ll find the .tar file:
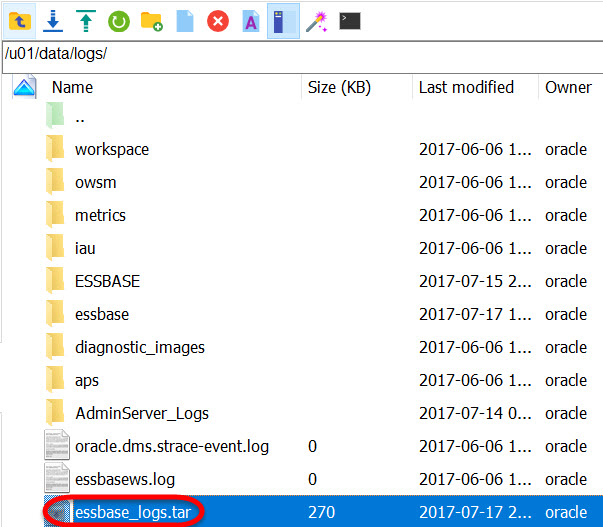
Right-click on the file and you’ll see a list of interactive options. Choose to Download the file:

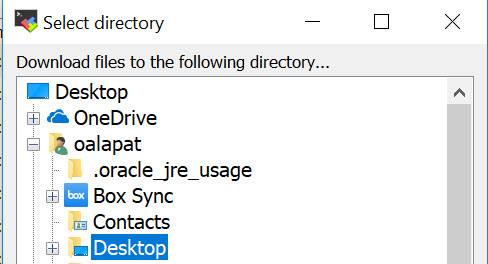
Pick a local directory folder on your machine (I chose Desktop) and press OK:
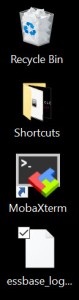
You should find your new .tar file wherever you downloaded it:
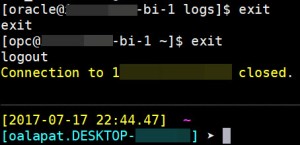
To finish it all up, properly close out of MobaXterm. Type in the word “exit” twice and then close down the client.
If you have a Windows machine and you want to untar your files to peek at the log files yourself, there are a few free tools out there to help you do this (unfortunately, the Windows zip utility does not work). My recommendation is 7-Zip, which you can find here.
Command Cheat Sheet
The next time you have to do this, you’re not going to need all of this explanation. Use the following list of cheat commands, replacing the bracketed information with your information below. You can literally copy and paste your edited version into MobaXterm and it will take seconds to run through the commands. At the end, you’ll just need to manually download your new essbase_logs.tar file.
ssh -i [Private Key location] opc@[Compute Public IP]
sudo -su oracle
cd /u01/data/logs/essbase [or wherever you want to go]
tar cvf essbase_logs.tar * [or pick a particular file instead of the *]
mv essbase_logs.tar /u01/data/logs
cd /u01/data/logs
chmod 777 essbase_logs.tar
Then download, rinse, and repeat as necessary.

One thought on “OAC Quick Tip: Manually Accessing Essbase Cloud Log Files”