
Sometimes when you’re deep into Reports development, you lose sight of some Reports objects. Either they’re too small, they’re on another page, they’ve slipped behind another object and you’ve overlooked the ugly red error warning at the top, or, like socks in my dryer, they’ve disappeared into a black hole. Who knows?
So…how do you relocate them?
There is a menu option that will show you all the Reports objects you have on a report. Once you know where it is, you’ll use it a lot when you “lose” objects or don’t want to be bothered by trying to find exactly where something is.
While in any editor mode, navigate to the action menu (the COG wheel at the top right side of your screen). Then select Edit:
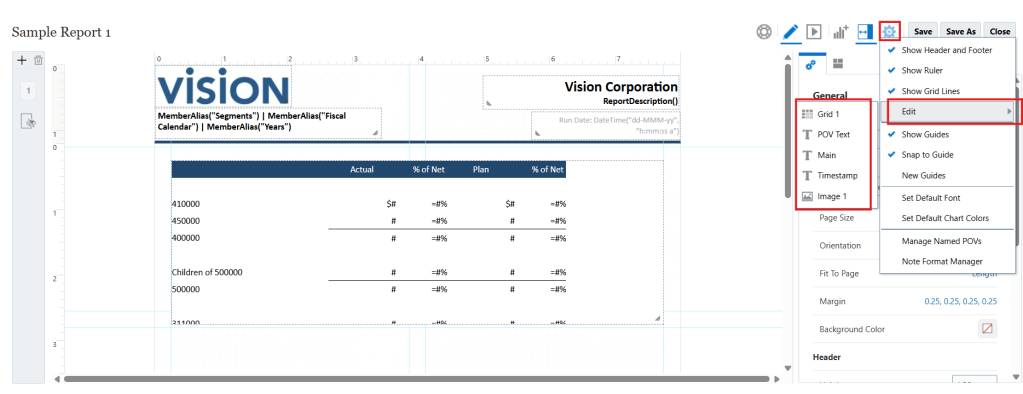
Notice above that every Reports object in my report is listed. It doesn’t matter what page it’s on or which object’s editor mode I’m in. They’re all there in a convenient little list.
Hint: this is why naming conventions are important. I always recommend to customers to use naming conventions on reporting objects so they can quickly identify what each one is in a list like this one. The icons next to each are helpful, but imagine if I had 3 grids on this report. How would I know what data/data source each one points to if they were named “Grid 1”, “Grid 2”, and “Grid 3”?
Back to the all-important Edit menu option: if I select one, it will immediately open that object for editing. In the below case, I selected Grid 1. So the “Grid 1” option is greyed out because it’s the object I’m already editing and the grid editor is now open:
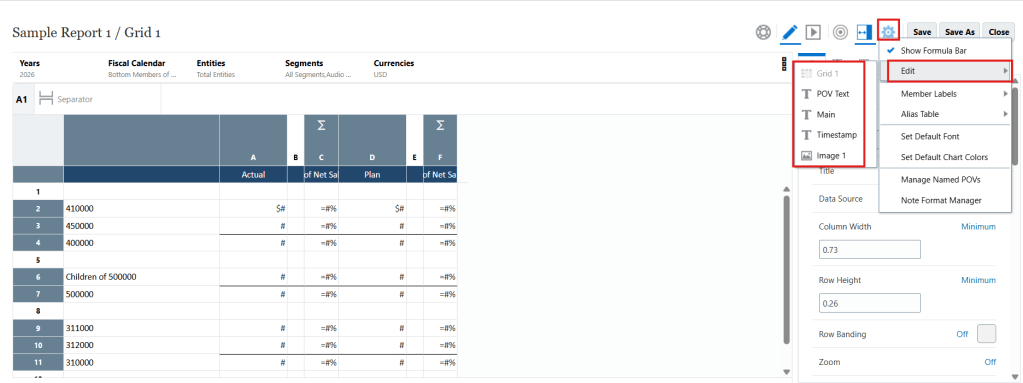
See how helpful this is?
Once you know, you know.
